Posts Tagged: photo tips
Huskies in Action!
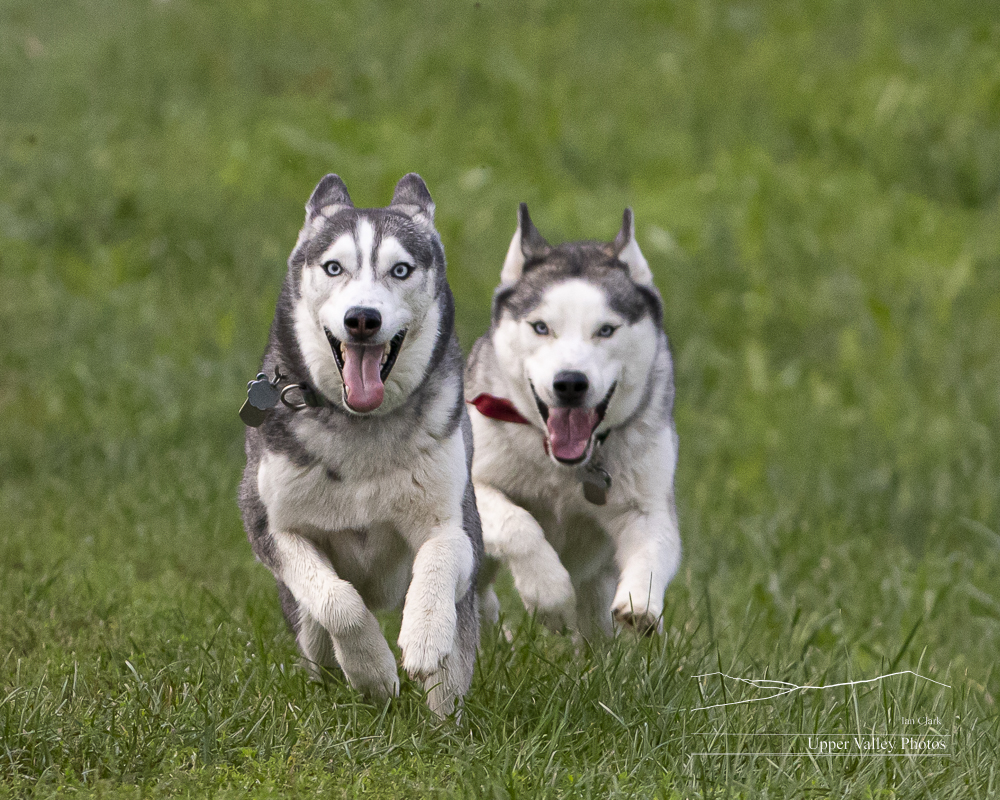
Huskies provide lots and lots of photo opportunities. But the best ones can be tricky to capture. Let’s take a look at what we need to get great action photos.
Let’s look at the challenges. First, we’re dealing with huskies. They’re going to do what they want to do, when they want to do it. And, when they’re in motion they’re fast – very fast. We’re going to need fancier gear than our cell phone.
For the sharpest action shots, you’re going to need a digital single lens reflex (DSLR) or a mirrorless camera that lets you set your shutter speed, lens aperture and ISO. And a telephoto or long zoom lens. Something in the 70-200mm range. I shoot mostly with Canon EOS R5 bodies and my Canon 70-200mm F2.8. That’s fancy gear, great if you’ve got the budget, but you can get great pix with paying nearly as much.
The Technical Bits
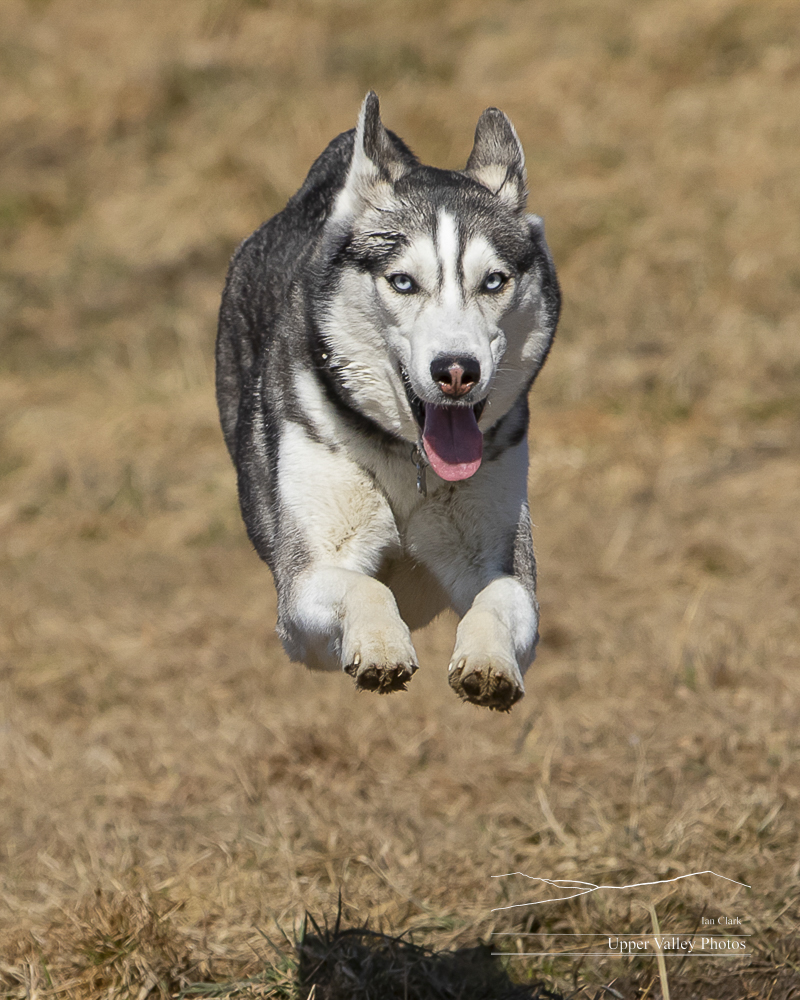
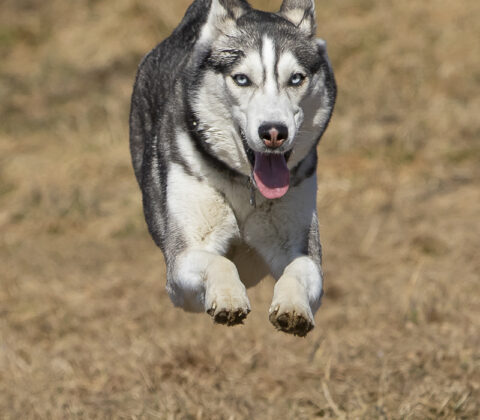
Dexter, the faster of our two huskies really moves when he pours it on. My experience shooing fast things suggests he approaches 25 mph. To stop action that fast, we need to use a fast shutter speed. We’ll adjust everything else to take that into account.
Let’s try using the manual mode first. Put your camera in manual and set your shutter speed. For my boys running, I use at least 1/2500th of a second, faster when I can. Try experimenting with 1/2500th, 1/3,200th and 1/4,000th. The younger the dog, the higher speed you’re likely to need. (If your camera doesn’t have those exact shutter speeds, try what’s close, like a 1/2,000th or 1/5,000th of a second.)
Next, we need to set our ISO to something like 800 or 1,000. This tells the camera how much light the sensor needs to properly expose the image. We want to use a high enough ISO to get the shutter speed we need without getting too much noise. If you’re pictures are dark, raise the ISO to 1,600 or higher.
The next thing we need to set is the aperture – the size of the opening in your lens. You want to be towards the biggest opening (the smallest number on the lens). Your zoom probably has F4, F5.6 or F6.3 as the largest opening. Set your lens to F5.6 if you can. If you don’t have F5.6, go with the smallest number you’ve got.
If your camera let’s you set the number of pictures it takes in a second, set it to the highest setting. If you can’t don’t worry.
Last, we need to set your autofocus. You want to use the tracking mode on your camera. For Canon, that’s AI Servo, for Nikon it is AF-C. If you have a different brand, it has the setting, you may need to search to discover what it is called. If you have the option to set which focus points you use, try setting a zone in the center of the image. If you can’t do that, use all the focus points. If your camera doesn’t have this option, you’re fine, it will do the work.
Try a few shots. Look at the images on the back of your camera. Do they look dark? If they do, increase your ISO or lower your shutter speed. If they’re light, increase your shutter speed. These settings should work well in sunlight or bright overcast. You’ll need to adjust for heavy overcast days.
The Pretty Pix Bits
Now you’re ready to get your pix. There are lots of simple things you can do to make them more dramatic. Best of all, they’re free 😉
Get down to look your doggies in the eye. Get low, kneeling is good, laying down is great. Pick a position where the dogs will be active in front of you. For really crisp action shots, bright sun is best. Set up with the sun off to one side or the other a little bit. You want your dog’s face lit as they run towards you, but with the sun far enough over to get a bit of shadow on the darker side. (Of course, the best expressions will come with the dogs facing the wrong way. That’s part of the fun.)
Make sure you’re close enough to where the dogs play to fill a big part of the picture with dog. But, leave yourself some room – they’re going to jump or bolt to one side quickly. If you’ve left some space around them, you’ll still get them in the frame.
Find a place to shoot where you get a clean background. No trashcans, parked cars, whatever. I’m lucky that our dog park is on a slope. I shoot looking up hill, the background is nothing but out of focus grass.
Follow your dogs as they play – with your finger pressing down far enough on the shutter button to activate the camera without taking the picture. This will keep the camera focused on the dogs.
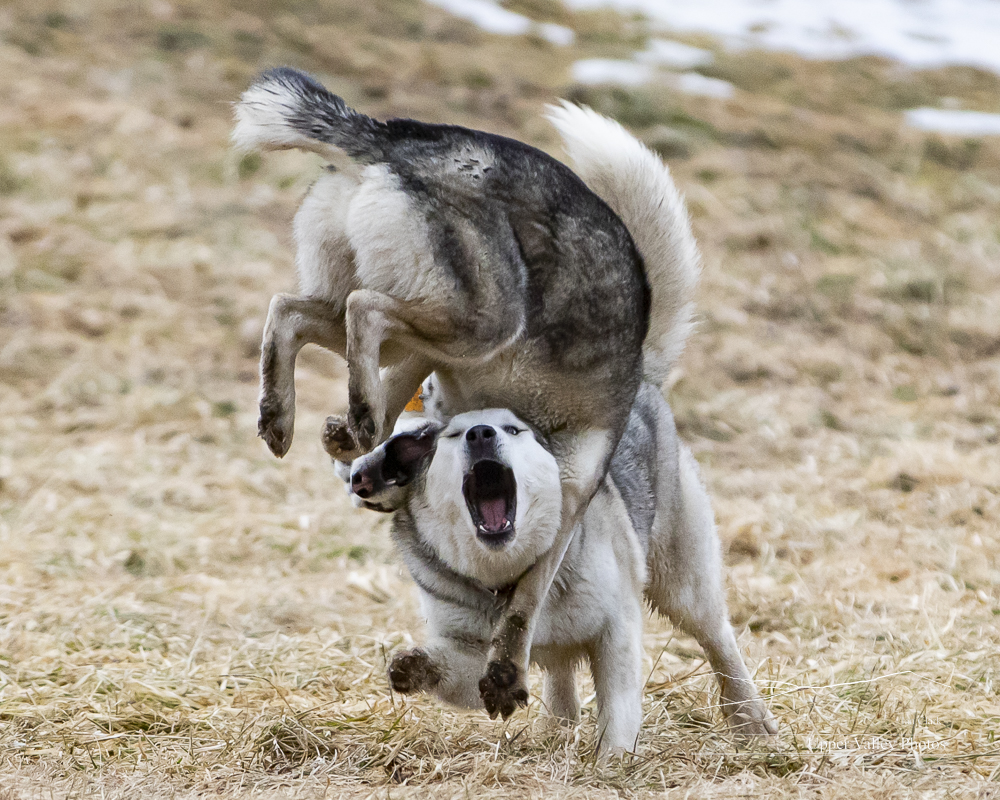
There’s a lag between when you decide to take a picture and the time your finger presses the button and a further lag for the shutter to open. That means you have to press the shutter before you see the expression you want to capture. Watch your dogs carefully for a while. You’ll soon learn to predict when they’re about to do what you want to capture. (This, of course, is far from foolproof. You’ll waste lots of shots. Better to take shots you throw away than to miss the ones you want.)
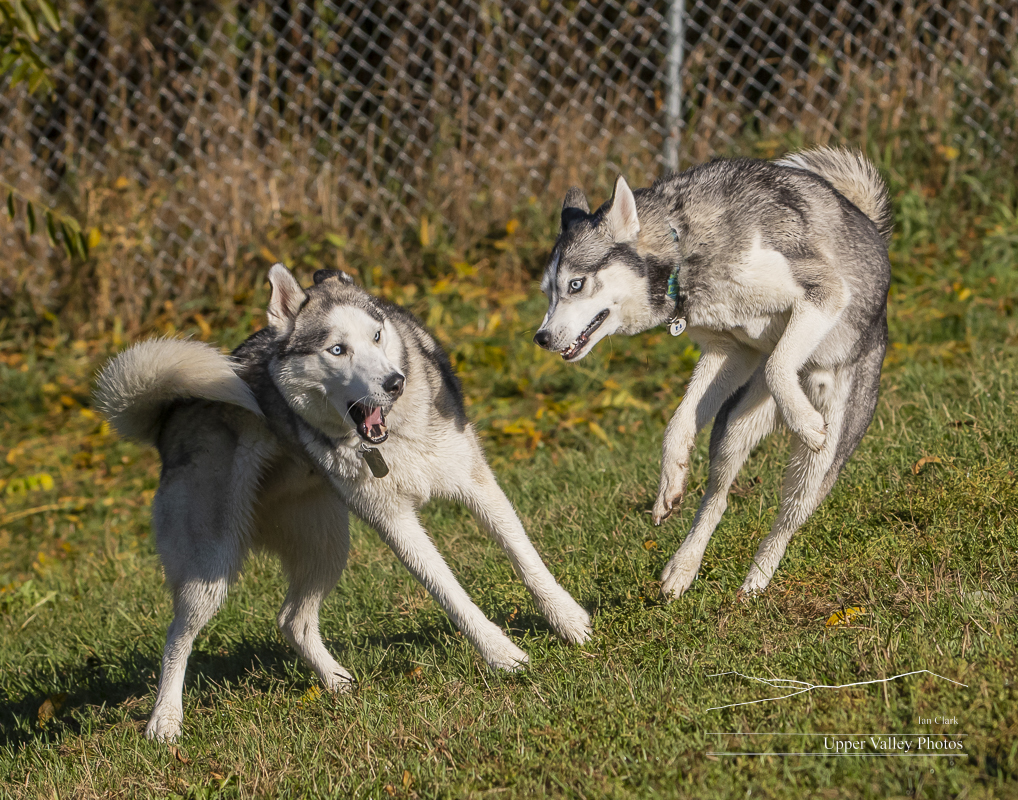
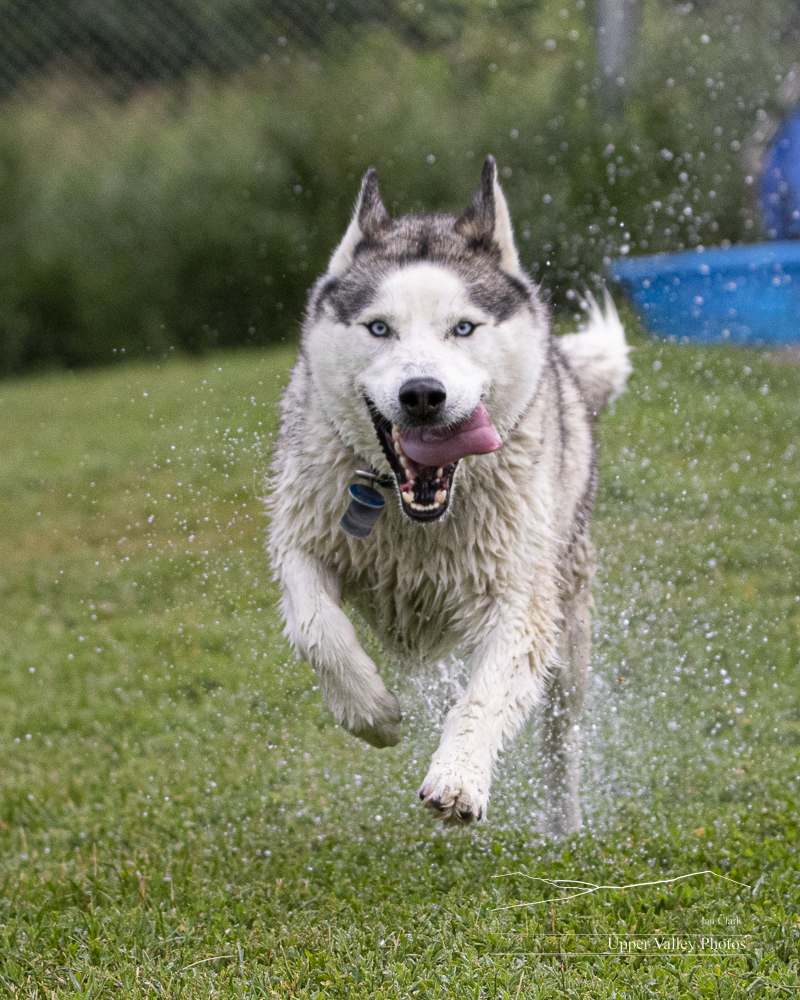
The best expressions or actions happen very, very fast. My camera shoots ten frames every second. Lots of the pix of the boys show action that lasts for less than a quarter of a second. Getting the best shots requires shooting a lot and a bit of luck. Mostly shooting a lot. I shoot at least a couple hundred shots each time we go to the park.
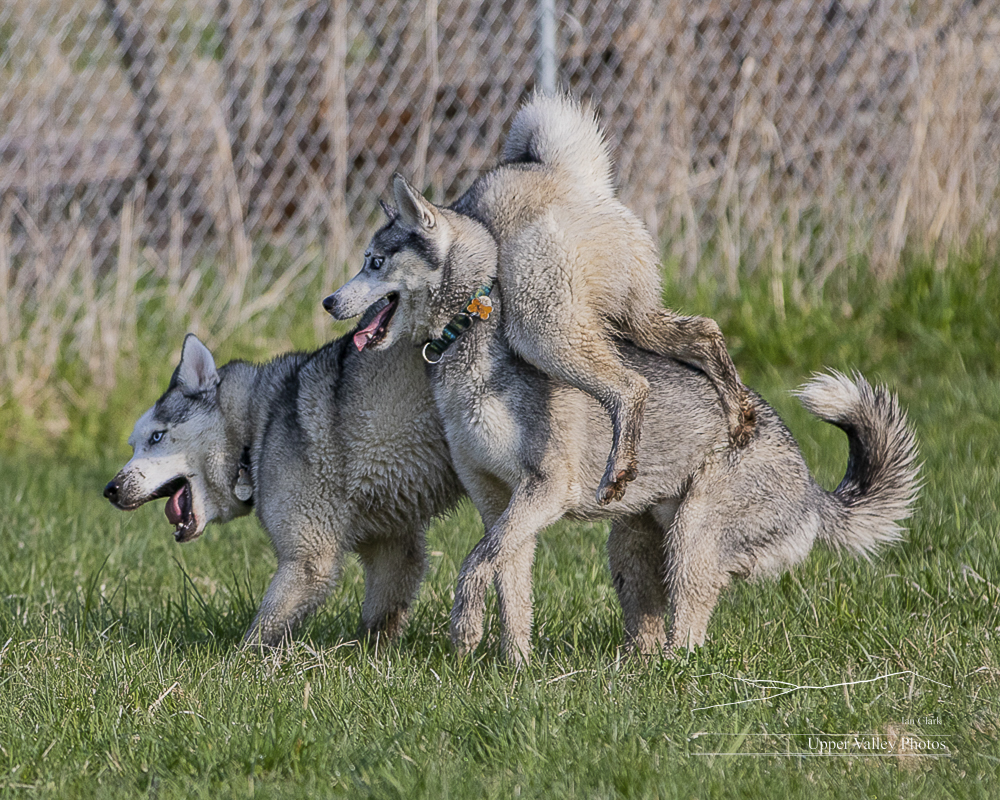
Pictures of your dogs doing something are the most fun. Yes, you want a nice headshot for a pic on your nightstand, but the real gold is when they’re in action. I’m lucky that my boys race around the park a couple laps, then settle in to wrestling. They’ll try to tear each other apart for many minutes, giving me lots of opportunities for action shots. Find some way to get yours playing if he won’t self-start. Give him a favorite toy or toss some kibble up in the air to get him going. They’re huskies, it shouldn’t take much to get them in motion.
After the Photo Session
You’re going to need to edit your photos a bit before you’re ready to show them. There are lots of options for editing programs, picking one is for another article. (For the record, I use Adobe Lightroom and Photoshop. There are lots of much less expensive options that will do the job.)
Go through the pix and toss out the ones featuring dog buts, half a dog, the sky or your thumb. For me, that’s usually about half of what I shoot. Pick a few of the shots where you’ve got good action and focus. You’ll probably want to crop them a bit to get closer to the action. You may need to make adjustments to the exposure and/color. Again, the details are for another article.
The secret to being thought a great photographer is to remember that people judge you by the photos you show them, not the photos you take. 99%+ of my shots never get seen by anyone but me. By just showing the good ones, I’m usually able to fool people into thinking I’m pretty good.
You need to take care of the talent. After the photo session make sure your buddies get a nice treat and a long belly rub.
You can now follow Dexter & Romeo’s antics on their Facebook page at: https://www.facebook.com/Dexter.and.Romeo and on their Instagram @dexter_romeo_huskies.
Four Quick Bird Photo Tips
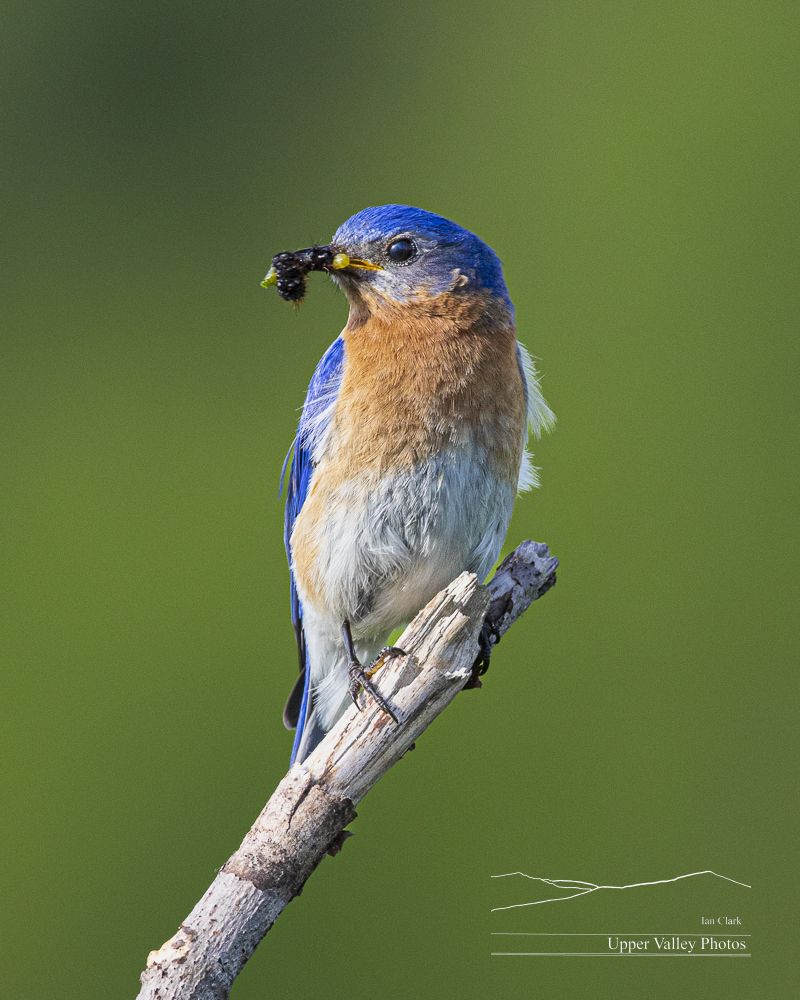
Here’s a pretty photo of a male Eastern bluebird with four quick photography lessons.
First, you don’t need fancy gear or to travel to exotic locations for good wildlife photos. This was taken while I was sitting on my deck. A pair of bluebirds were raising chicks along the edge of my lawn. They would hunt insects over and on the lawn. I stuck a stick in the ground to give them a perch. They promptly took advantage of the perch and I got my photo.
The next lesson is to try and get the wildlife doing something. Seeing this guy with food in his mouth tells a story. You know he has a nest with chicks nearby and he’s hunting to feed them. That gives us a more interesting image that just the bird alone.
The third lesson from this image is to keep it simple. Here we’ve got a bird on a stick. There’s a nice, clean background and nothing in the foreground to distract your attention from the bird. Try to frame your photos to avoid anything that you don’t want viewers to look at instead of the subject.
The fourth lesion is simply to be ready to enjoy encounters with wildlife anywhere at any time. Vermont has lots of fascinating wildlife, pay attention and you’ll find photo opportunities all over the place.